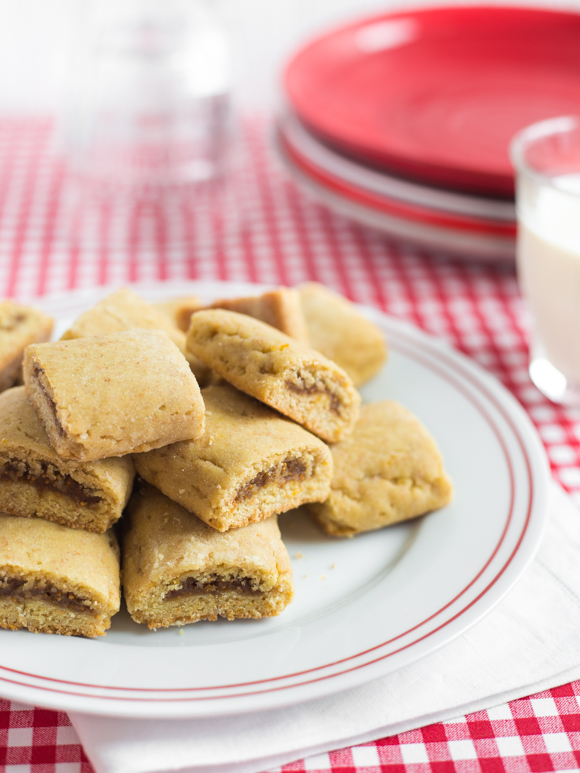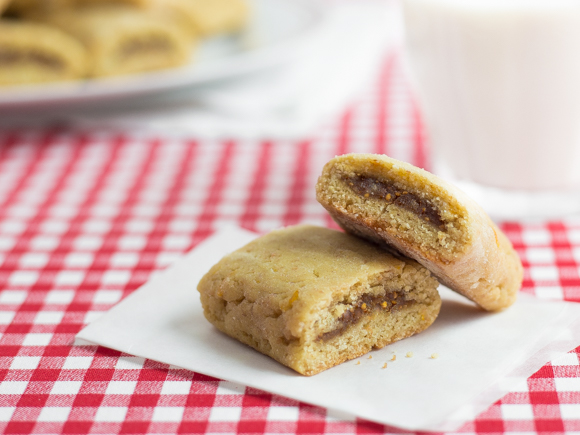
Figs are so lovely and delicate with their floral flavour, and stand up exceptionally well to pastry – we like to unofficially call them “figs in a blanket”!
Makes: 18 squares
Prep Time: 40 minutes plus dough resting overnight
Cook Time: 15 minutes
Ingredients
For the dough:
- 62 g / 1/2 cup all-purpose unbleached flour
- 62 g / 1/2 cup whole wheat flour
- 84 g / 6 tbsp Mirage margarine, room temperature
- 50 g / 1/4 cup sugar
- 20 g / 1 tbsp honey
- 2.5 g / 1/2 tsp baking soda
- 2.5 g / 1/2 tsp salt
- 2.5 ml / 1/2 tsp vanilla extract
- pinch / dash of cinnamon
- 2 g / 1/2 tsp orange zest
- 2 egg yolks
- 15 ml / 1 tbsp orange juice
For filling:
- 153 g / 3/4 cup dried black mission figs
- 50 g / 2 tbsp unsweetened applesauce
- 10 g / 1/2 tbsp honey or corn syrup
- 2 g / 1/2 tsp orange zest
- pinch / dash cinnamon
Directions
- Sift the flour, baking soda, salt, and cinnamon and set aside.
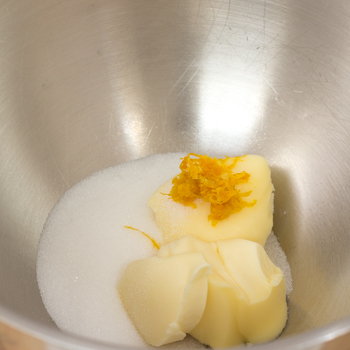
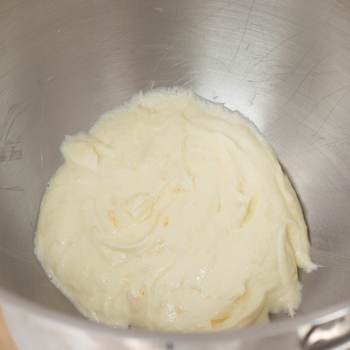
- With a hand or stand mixer, fitted with a paddle attachment, cream together Mirage, sugar, and orange zest on medium speed until the mixture is light and fluffy. Scrape the bowl down with a rubber spatula halfway through, and continue mixing. With the mixer still running, add the yolks one at a time, mixing thoroughly after each addition. Mix in honey and vanilla to combine.
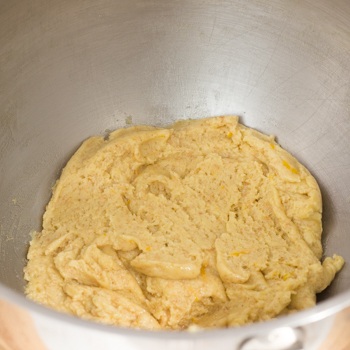
- With the mixer on lowest speed, add in the sifted dry ingredients all at once. Drizzle in the orange juice. Continue mixing until smooth. The dough will be very soft and wet. That’s okay. Transfer the dough to a large sheet of plastic wrap. Fold the wrap over the dough, flatten it into a disc and refrigerate overnight.
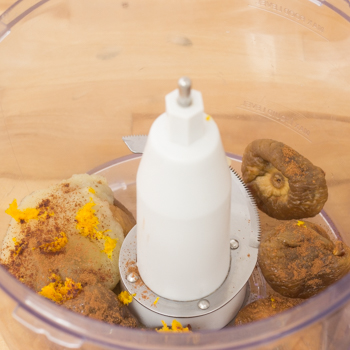
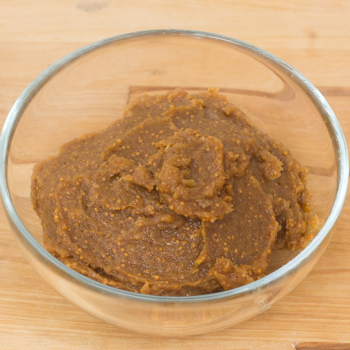
- Meanwhile, make the filling. Combine the figs, applesauce, honey or corn syrup and cinnamon in the bowl of a food processor. Pulse until smooth. Scrape the bowl down with a rubber spatula and pulse again to ensure no chunks remain; if any sneak by, they will clog the pastry tip during piping. Transfer the fig paste to a pastry bag fitted with a plain round tip.
- Set aside until needed.
- Preheat the oven to 350°F / 176°C and have a parchment lined cookie sheet ready.
- Even after chilling, the dough will be significantly softer than the typical rolled dough. By dusting the rolling surface with plenty of flour and using thoroughly chilled dough, you shouldn’t have a problem.
- Dust the rolling surface heavily with sifted flour to prevent sticking, and dust the surface of the dough generously as well. You can brush the excess off later, so don’t worry about overdoing it. With a rolling pin, roll the dough to 1/4″ / 0.6 cm thickness (check with a ruler or your cookies will be too thick). Frequently lift and move the dough, re-dusting if needed, to ensure it does not stick. If any places do stick, slide an offset metal spatula between the dough and the counter to loosen and dust the problem area with more flour.
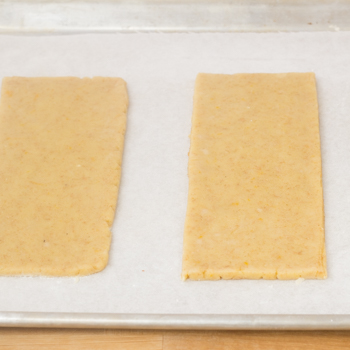
- Use a ruler and a pizza cutter to cut the dough into several 3 1/4″ / 8.3 cm wide strips. It is easiest to handle the pieces if you cut these strips into 6″ / 15 cm lengths. Gently dust away excess flour with a dry pastry brush.
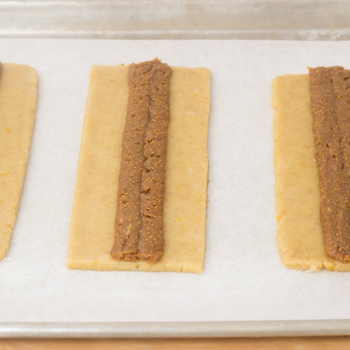
- Down the centre of each dough strip, pipe the fig filling into a 1″ / 2.5 cm wide, 1/4″ / 0.6 cm thick strip. (You may have to make more than one pass if your pastry tip is narrow.)
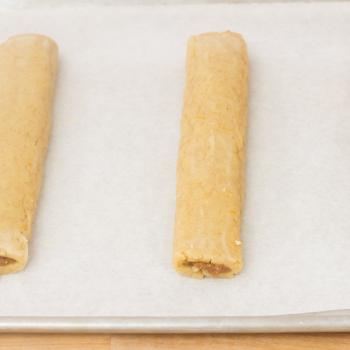
- Fold one side of the dough up and over the fruit filling, then roll the log over to cover the remaining portion of the dough. You’ll have a cookie log with smooth dough on top and a seam along the bottom that is double thick where the two strips overlap. This will give the cookies their characteristically bowed shape. Repeat this folding process with remaining cookie bars.
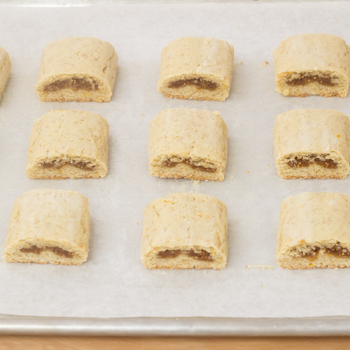
- Use a dry pastry brush to dust off excess flour from outside of the cookie bars (you can roll them over to dust off the bottoms too). Transfer the uncut bars to the prepared cookie sheet. Bake for approximately 12 minutes or until the bars have puffed and browned lightly. They will be just slightly firm to the touch; if they feel puffy or moist, continue baking a few minutes more.
- As soon as you have removed the cookies from the oven, use a sharp knife to trim each bar into however many 1″ / 2.5 cm long cookies. While the cookies are still warm, transfer them to a plastic container with a lid or large zip-top bag. If you need to stack the cookies, place a piece of parchment between the layers.
- Seal the container or bag tightly. This will trap in heat and moisture and slightly steam the cookies, ensuring they remain soft and cake-like from end to end. Skipping this step will result in a slightly drier texture, more like a cookie and less like cake.
- The cookies will keep, at room temperature, for about two weeks.
Chef Notes
- Place prepared squares in freezer for 20 minutes before baking to help hold their shape.

